
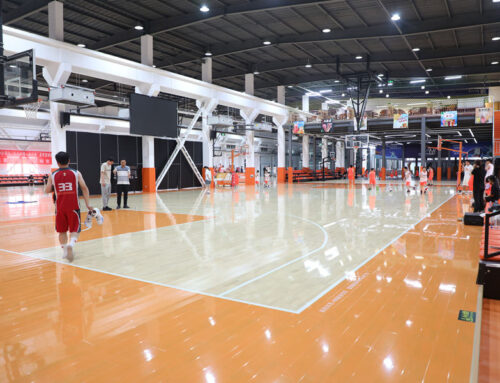
Okay, so the other day, I decided to tackle this project I’d been putting off – putting down some rubber volleyball pine assembled wooden flooring in my spare room. I’ve always wanted a little home gym area, and this seemed like the perfect flooring for it.
First things first, I cleared out the entire room. Furniture, rugs, everything. Gotta have a blank canvas, you know? Then, I gave the subfloor a good sweeping and vacuuming. Made sure it was super clean, no dust bunnies or anything.

Next, I rolled out the rubber underlayment. This stuff is supposed to help with shock absorption and soundproofing, which is great because I don’t want to bother the neighbors when I’m working out. I trimmed it to fit the room, leaving a little gap around the edges for expansion.
Then came the fun part – the wooden flooring itself! It came in these interlocking planks, which I thought was pretty cool. I started in one corner, laying down the first plank and making sure it was aligned properly with the walls.
Then, it was just a matter of connecting the planks together. They had this tongue-and-groove system, so you just had to slide them into place and give them a little tap with a rubber mallet. It was surprisingly easy, actually. Like putting together a giant puzzle.
- Keep going: I just kept working my way across the room, row by row.
- Measure and Cut: When I got to the edges, I had to measure and cut some of the planks to fit. I used a regular saw for this, and it worked out fine.
- Stay Organized: It is very important.
The last row was a bit tricky, because I had to rip some of the planks lengthwise to make them fit. But I managed to get it done, and it looked pretty darn good, if I do say so myself.
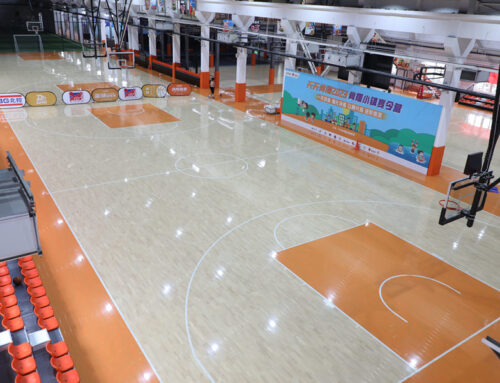
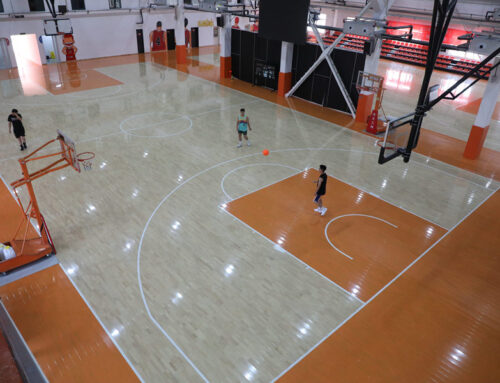
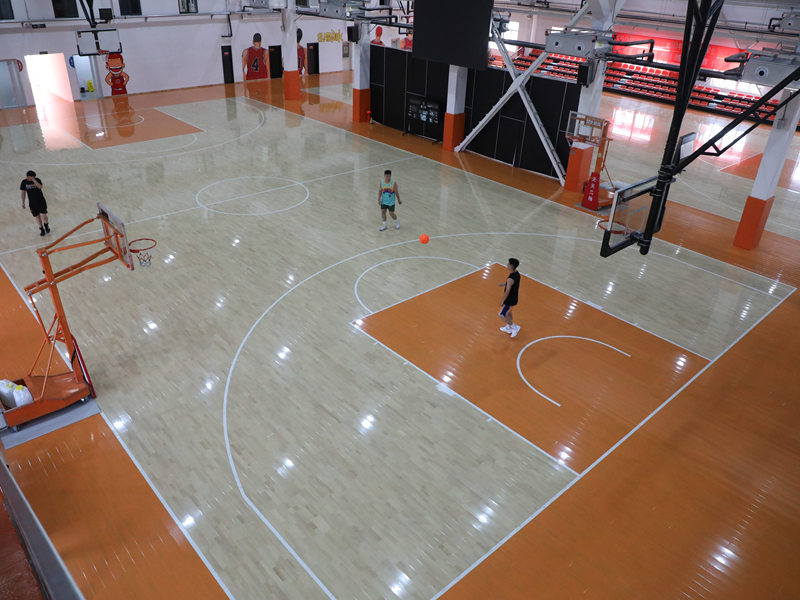
The final effect!
Finally, I installed some baseboards around the edges to cover up the expansion gaps and give it a finished look. And that was it! My very own home gym with rubber volleyball pine assembled wooden flooring. It felt great underfoot, and I couldn’t wait to start using it. It is a good day to work hard!.

